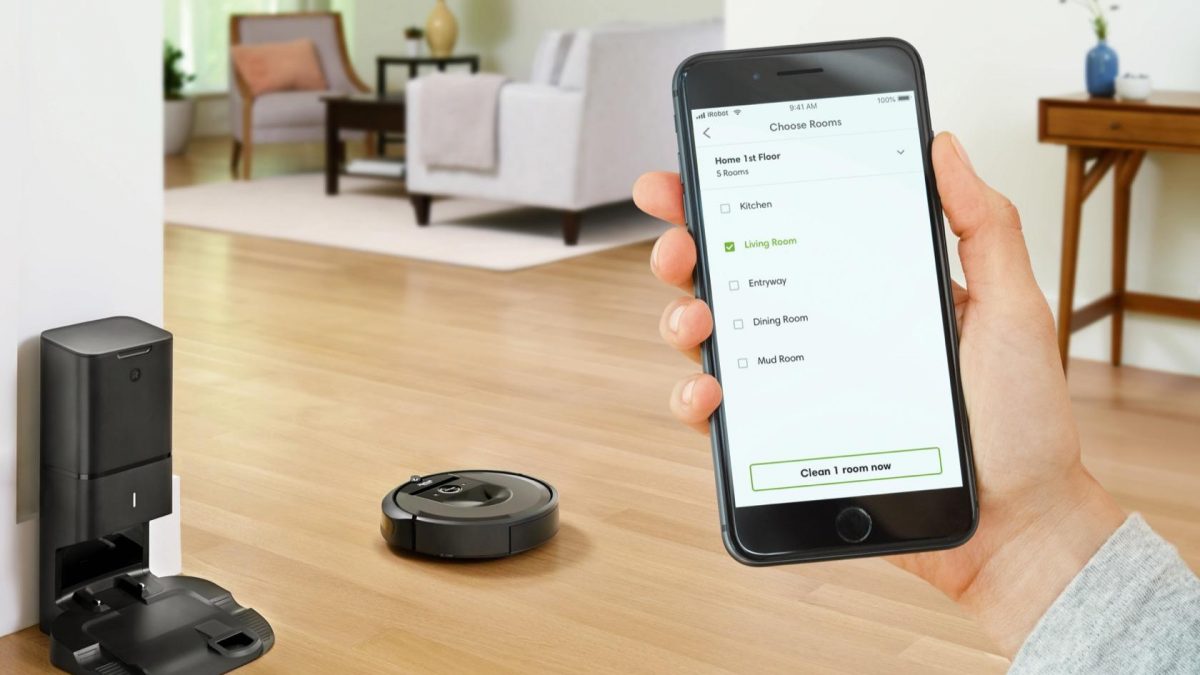
How to Connect Robot Vacuum to Smartphone
Table of Contents
Easy Ways to Connect Robot Vacuum to Smartphone
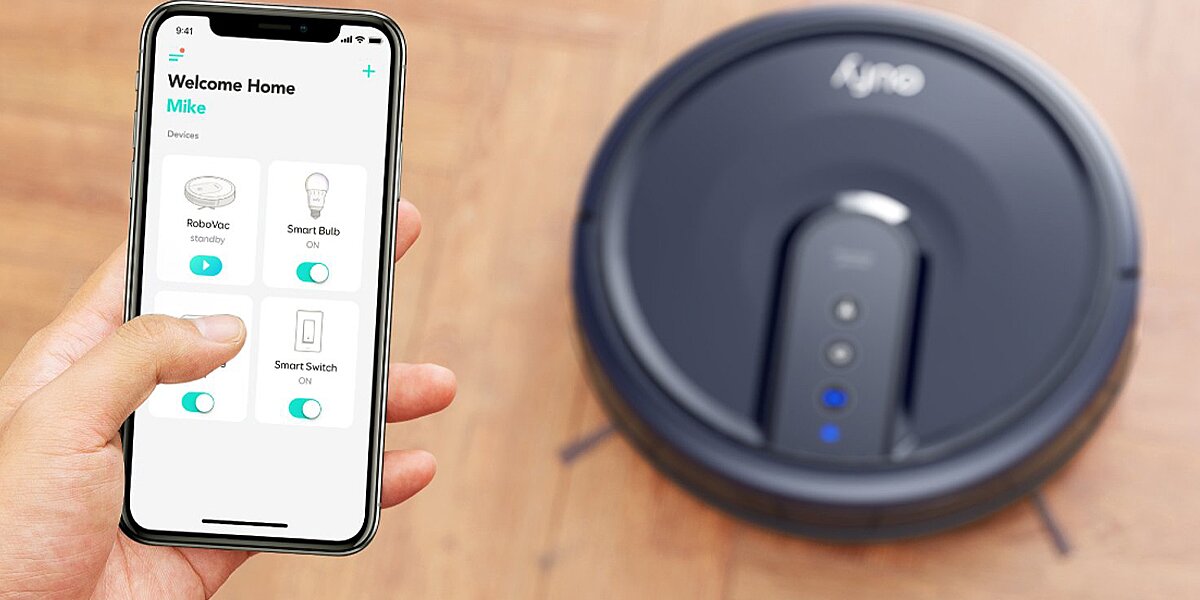
One of the best features of intelligent robot vacuums (robovac) is their ability to connect to your home network and “talk” with various gadgets like your smartphone. Through this, you can control every feature of your cleaning gadget using your smartphone for convenience and efficiency. After all, that’s the reason why you want to have a robot – to do things independently.
After having tested dozens of robot vacuums, we found out that there were two main steps to connect your robovac to your phone: download the app and use it to connect your smartphone to the robot cleaner. Let’s discuss these steps further.
Download the Robot Vacuum App
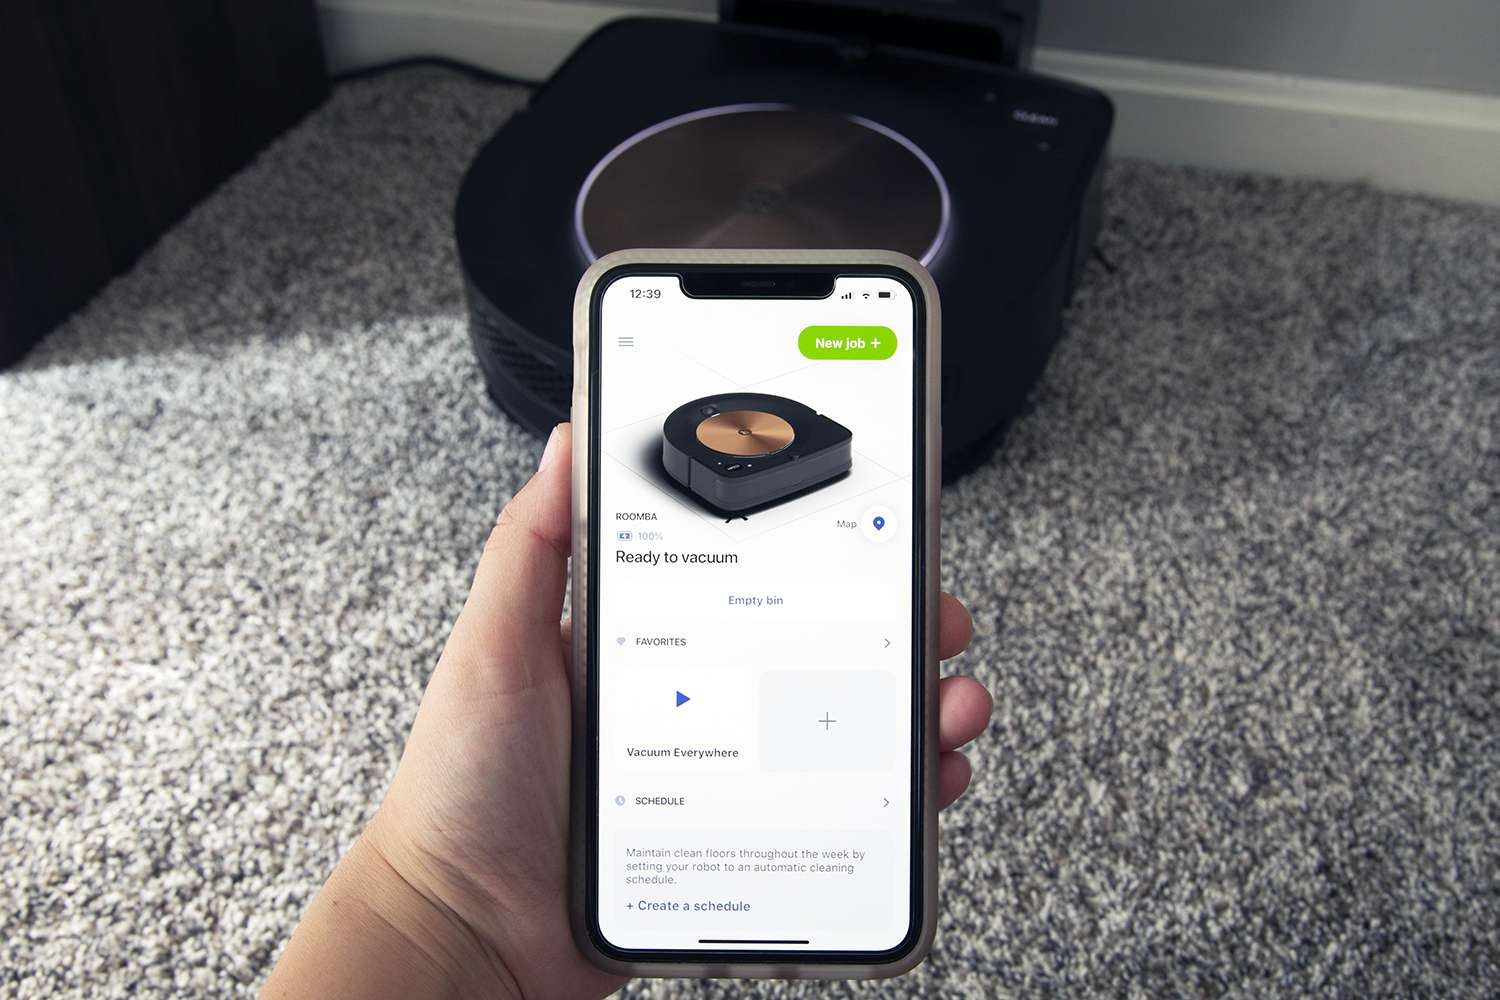
Downloading the app compatible with your robot cleaner may vary slightly for each brand. For the demonstration, we will use the iRobot brand to show you the steps.
To download the app to your mobile device, go to the app store, look for iRobot Home, and follow the prompts for proper installation. If you have it already installed, check the manufacturer’s website to see if you have the latest version. Roborock app on iOS requires iOS 13 or higher. For Android, it requires OS 7.0 or higher.
Connecting the Robot Vacuum to the App
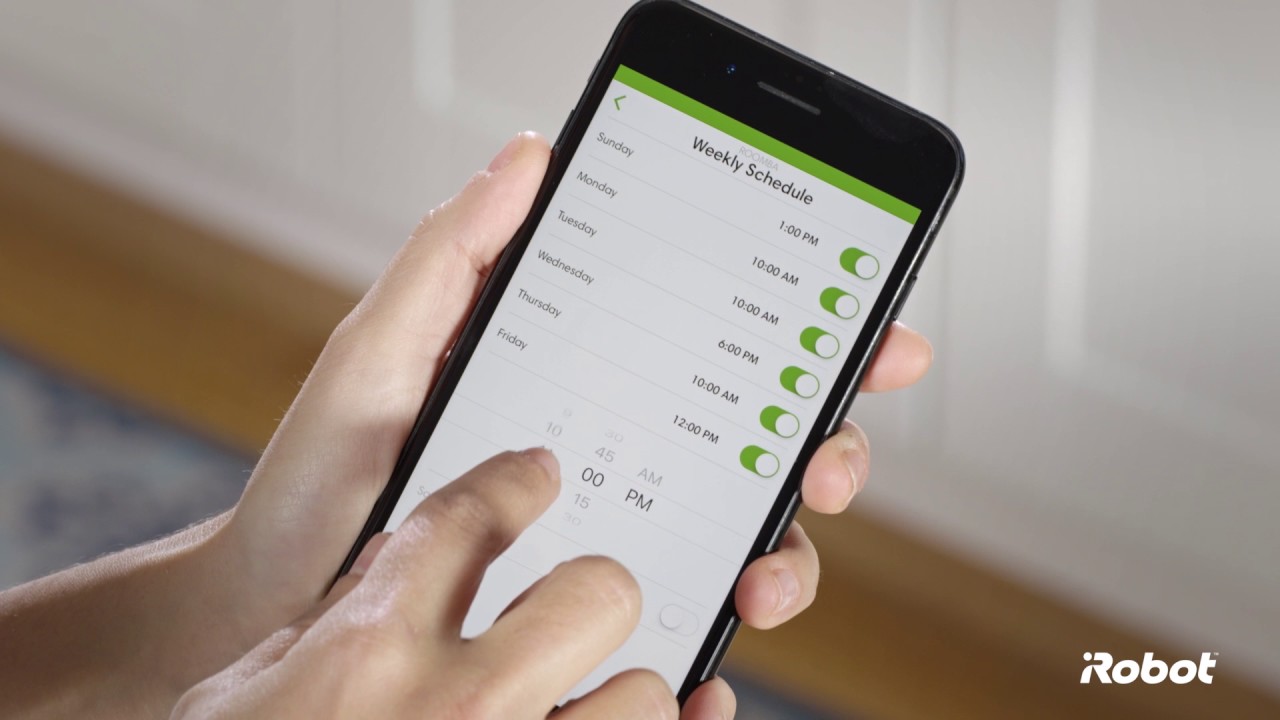
There are five steps to link a Roomba or Braava to the iRobot Home App.
Step 1
Place the device’s charging station on a level surface. To be safe, don’t put the base near the stairs.
Ensure that the surface is free from obstacles and has a strong WiFi signal. Plug it in; you should see a white light telling you that it’s on.
Once it’s on, place the bot on the charging station. You will know that it’s on when you see the ring lit up and swirl. You will also hear a tone letting you know that the device is awake.
Link your phone to the same network S
SID where you want the robot to connect. Make sure that you have access to the internet.
Step 2
Turn on Bluetooth on your smartphone. If it’s not on yet, the app will notify you to turn it on.
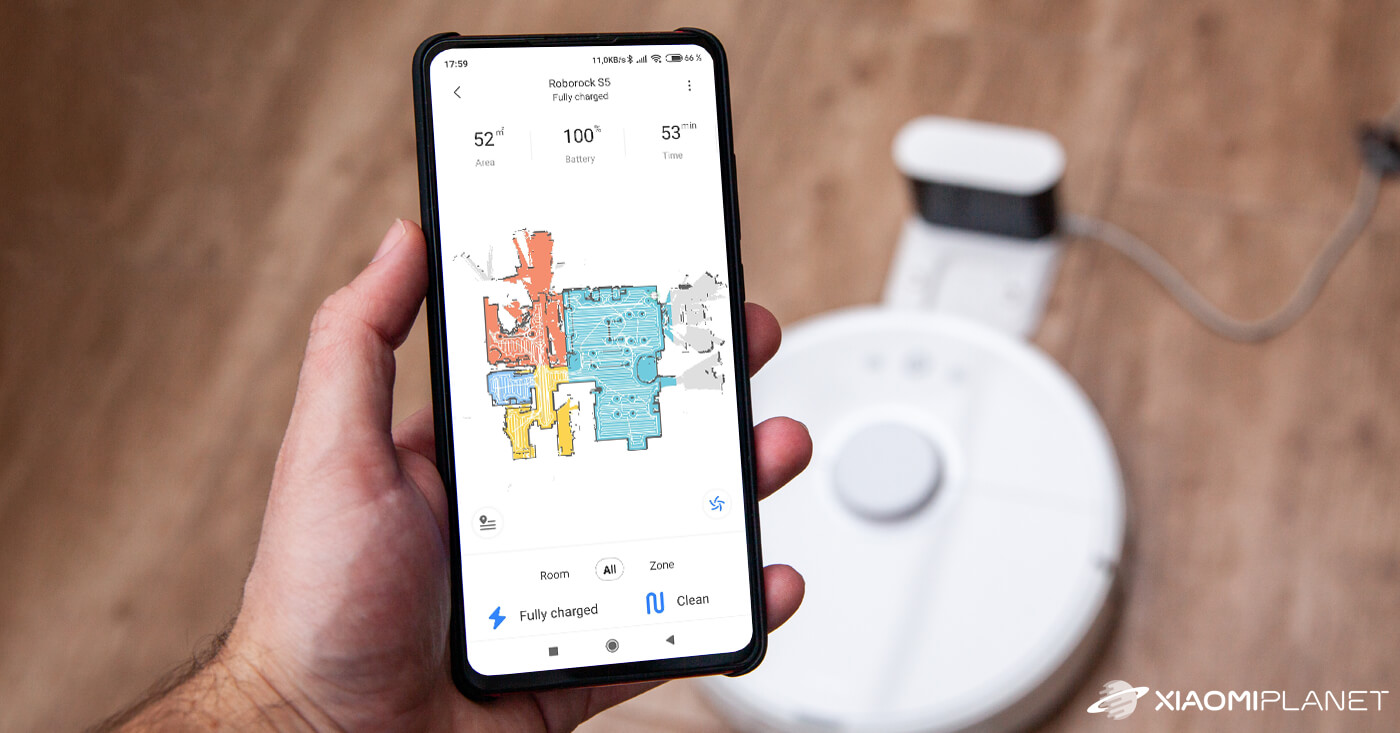
In some iRobot models, you may be prompted by request for location services. This is a standard security feature so that Bluetooth can find the robots during the setup process.
Step 3
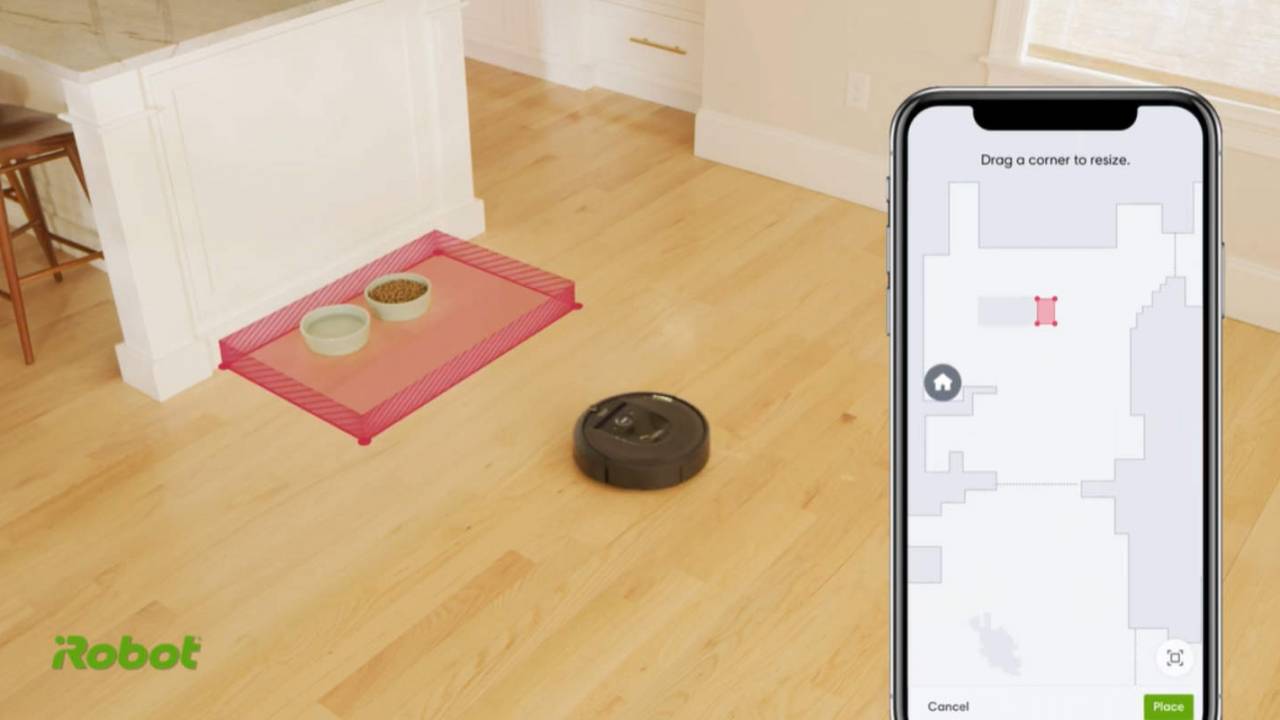
Once the initial setup is completed, you will see “Roomba” in the iRobot Home App on your phone. You can change this name into whatever you want and click “Continue.”
Step 4
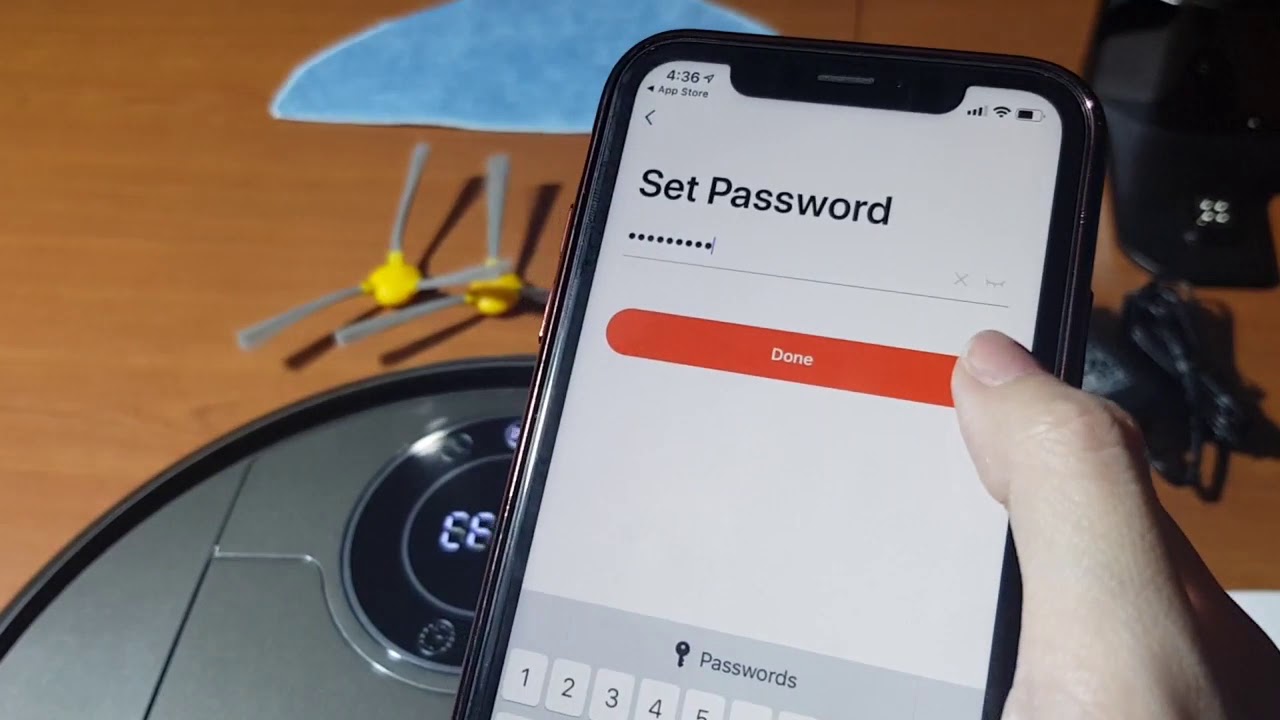
The app will now show the WiFi network’s name to where the robot vacuum is connected. If this is the network you want to use, you can confirm it by entering the WiFi password. Ensure that you have entered the correct password before continuing to the final step.
If there is no need for a password, simply click the box on the screen and tick “Continue.”
Step 5
This final step will turn on the robot vacuum’s internal WiFi network so that the device can locate the robot. If you have Roomba j7, you don’t have to perform the steps below as the device itself automatically does this for you.
- Place the robot on its base, press, and hold “Home” and “Spot Clean” together until you hear a sound.
- You will see a notification in the app asking you to confirm that you’re done with the preceding step. Tick the box and press Continue.
By this time, the app on your smartphone must find the robovac. If not, power cycle the bot and try again. It will also help if you turn off the router’s firewall to allow your phone to find the cleaner.

