iPhone is the dream smartphone for many people. It has so much to offer, including advanced security features and high-end applications. Hence, iPhone users want to use the best tools and care for their device management.
What if we tell you that it is easy to handle the majority of iPhone system issues, with trustworthy iOS system recovery, at home only? Dr. Fone System Repair is the leading toolkit offering a quick fix to different iPhone issues without data loss. It helps iPhone users with end-to-end device management with its plethora of features.
So, are you interested to know more about this amazing product in detail? Starting with a quick overview of this innovative toolkit.
Table of Contents
Dr.Fone System Repair- An overview
iPhone is an amazing device but the different system issues can’t be ignored. Do you face the problem of iPhone stuck on Apple logo? No need to worry as Dr.Fone System Repair can solve this problem along with other issues like boot loop and frozen iPhones.
The system problems like white screen of death, black screen, and restarting the iPhone can be best managed by Dr.Fone System Repair. If asked for innovative, effective, and easy-to-use software for managing different iPhone system issues, Dr.Fone System Repair is the first and preferred choice.
It offers support to upgrade to the latest iOS version and offers a range of solutions without risking data security. The best thing about this toolkit is that there is no need to go for professional help in using it or freeing your iPhone from different system issues. With that being said, are you willing to know about its amazing features?
Dr.Fone System Repair for iOS- Top-Rated Features
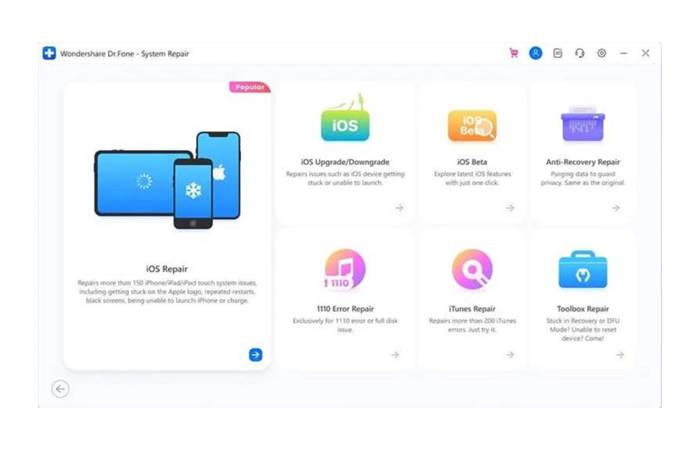
The secret of the Dr.Fone System Repair tool’s comprehensive iPhone device management lies in its long list of useful features. Some of the prominent features of the Dr.Fone System Repair (iOS) tool are as follows:
- Repairs iPhones, iPods, and iPad without any data loss.
- Can handle more than 150 different iOS issues.
- An easy, quick, and safe option for iOS system repair.
- Actively supports iOS system update or downgrade with no external help.
- Compatible with all iOS devices, the latest iOS 16, and iPhone 14 series.
How to Exit Recovery Mode using Dr.Fone System Repair
Recovery mode in iOS can be used to complete different functions. Hence, Dr.Fone System Repair offers quick exit from the recovery mode on your iPhone. The quick steps are mentioned below:
Steps to exit recovery mode using Dr.Fone System Repair
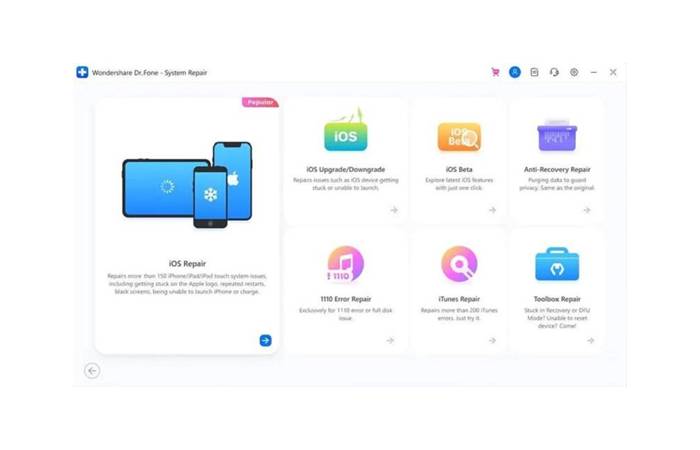
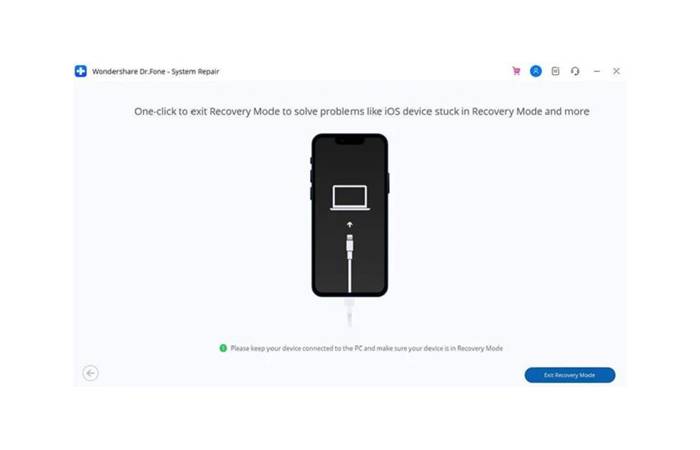
1. Start by launching the Dr.Fone System Repair and select the “System Repair” option. Next, take an Apple-compatible USB cable and connect your iPhone to the system. Then, from the options available on the screen, select the “Toolbox Repair” option.
2. The next step is to select the “Exit Recovery Mode” option to start the process of bringing your iPhone back to normal.
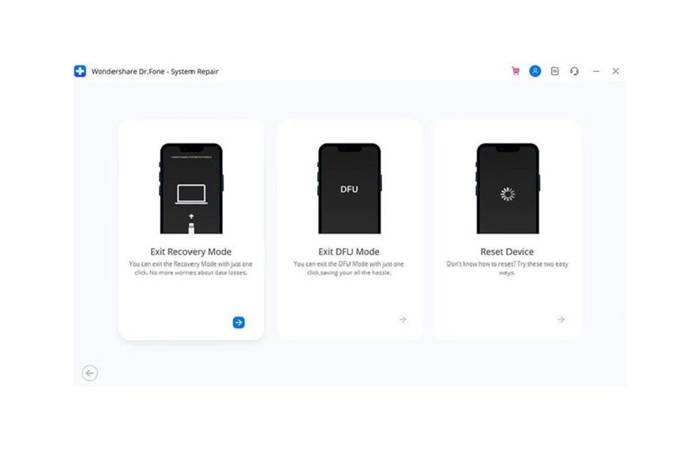
3. Finally, click on the “Exit Recovery Mode” option on the screen to complete the recovery mode exit process.
 How to use Dr.Fone System Repair to fix iPhone issues?
Repairing the system issues and entering/ exiting the recovery mode are some of the prominent uses of the Dr.Fone System Repair tool. So, below are the detailed steps for both processes to help iPhone users in device management.
Steps to Repair System Issues using Dr.Fone System Repair
Dr.Fone System Repair is the highly professional and easiest iOS system repair tool. It eliminates the need to reach the Apple contact center or other professional help in successful iPhone system repair. The quick steps to use this tool to repair system issues are:
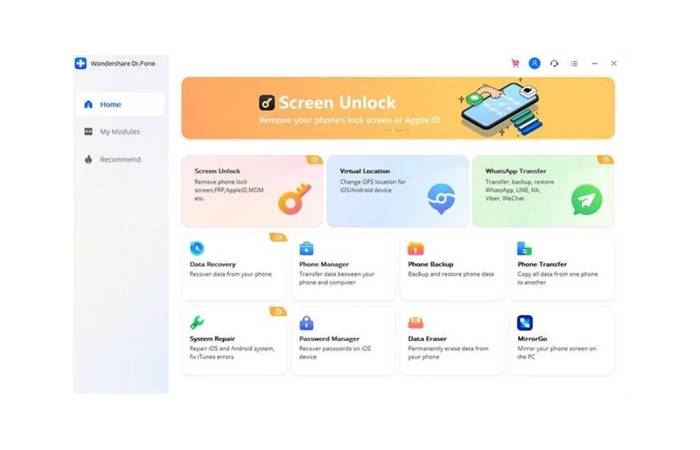
1. Start by opening the official website of Dr.Fone System Repair and download the tool. Once completed, launch it on your system. Select the “System Repair” option on its homepage.
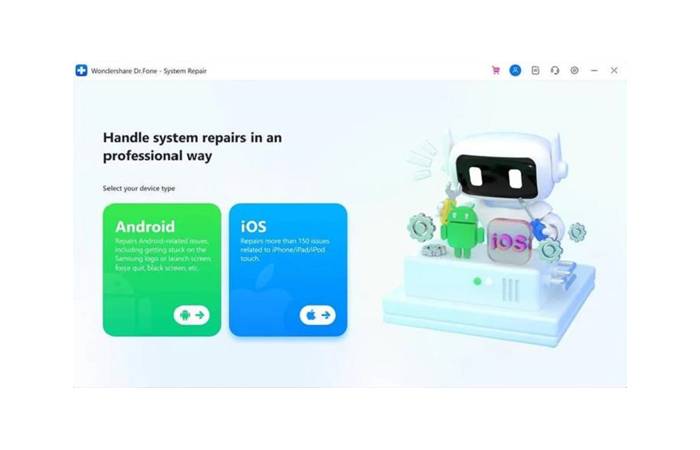
2. The second step is to select the type of smartphone you’re looking to repair. The screen shows two options and it is easy to select the “iOS” option.
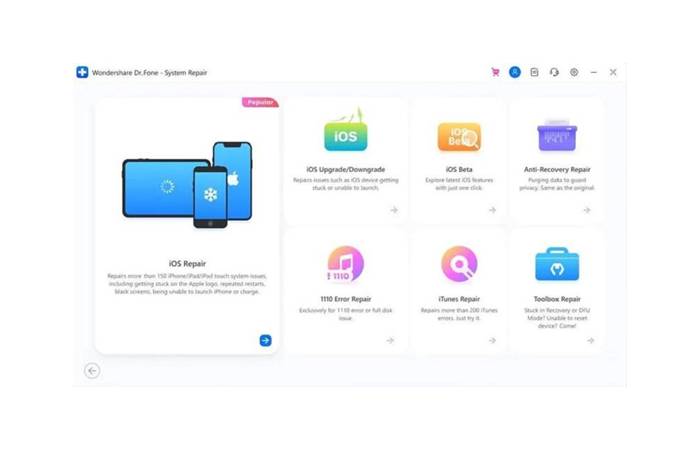
 3. Then, the iOS phone option will offer different options. All you need to do is select the “iOS Repair” option to start repairing the system issues.
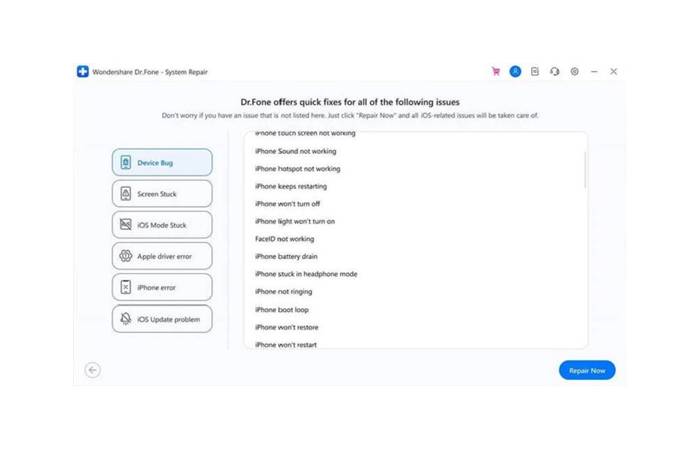
 4. Next, it is time to search your iOS issues from the options available in the tool. It offers a detailed list of the iPhone issues handled by the Dr.Fone System Repair (iOS). Once selecting the issue, you can click on the “Repair Now” option. If the tool doesn’t have specific issue in the list, you don’t need to worry and can quickly go ahead with the “Repair Now” option only.
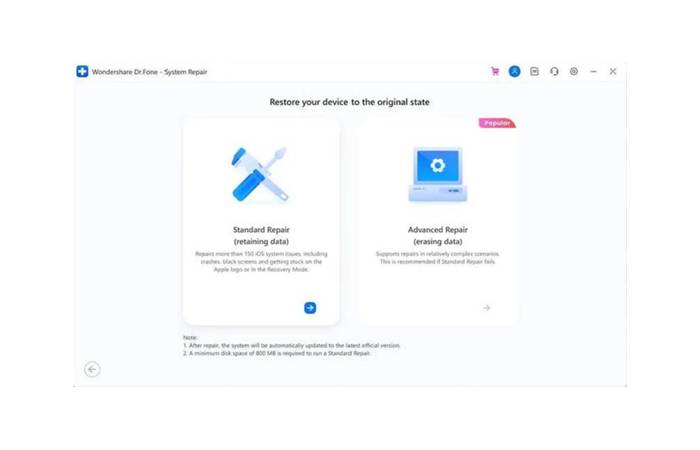
5. The next step is to select from the “Standard Repair” or the “Advanced Repair” option available on the interface. Here, the “Standard Repair” option fixes all iOS issues by retaining device data while the “Advanced Repair” mode fixes the iOS issues but erases device data. Currently, we’re showing the steps to repair iOS system with the “Standard Repair” option only. Further, it is recommended to use the “Advanced Repair” option only in the cases if the “Standard Repair” option fails to deliver the desired results.
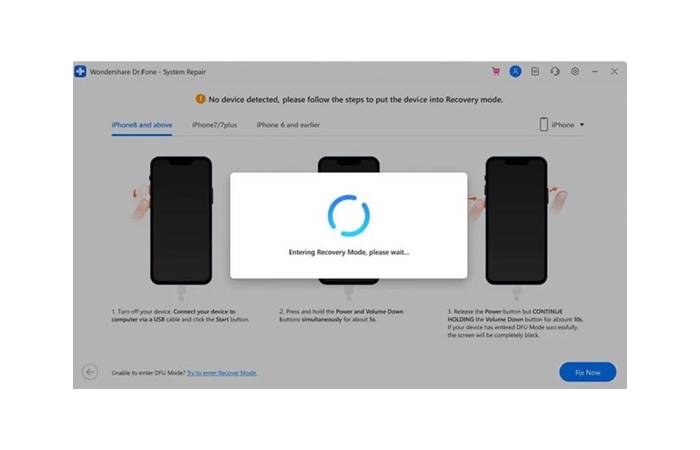
6. Next, you must put your iPhone in recovery mode. It can be exited easily using the same tool later. So, start by connecting your iPhone to the system using a USB cable and sincerely go through the instructions on the screen. Then, go to the “Trust” option and select the “Enter Recovery Mode” option. There is one option- “Guide to Recovery Mode” if the iPhone is not connecting properly or is becoming unresponsive when trying to put it in recovery mode.
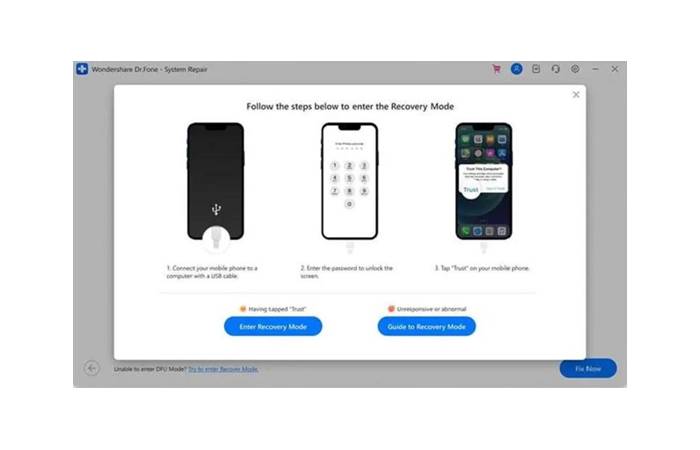
7. Now, the screen will guide you throughout the process of the iPhone connection with the system and putting it in the recovery mode.
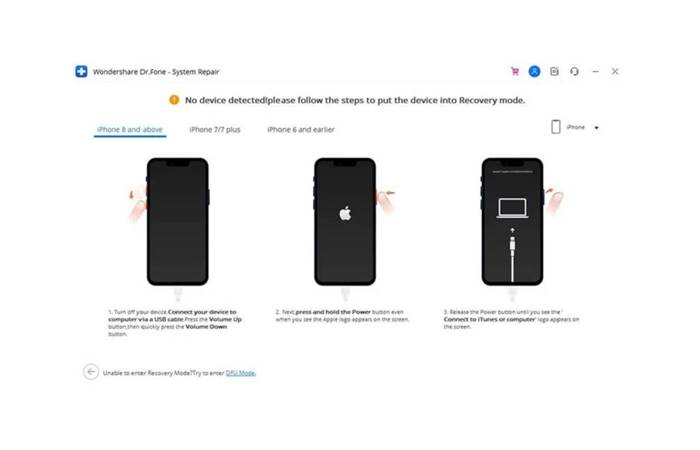
8. Fone System Repair will automatically detect your device while successfully entering the recovery mode.
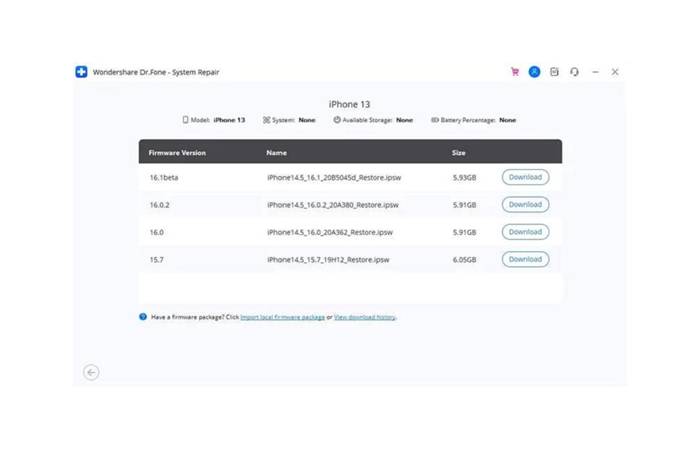
9. Here, the next step is to select suitable iOS firmware. You can see a detailed list of the available iOS firmware. All you need to do is click on the “Download” option.
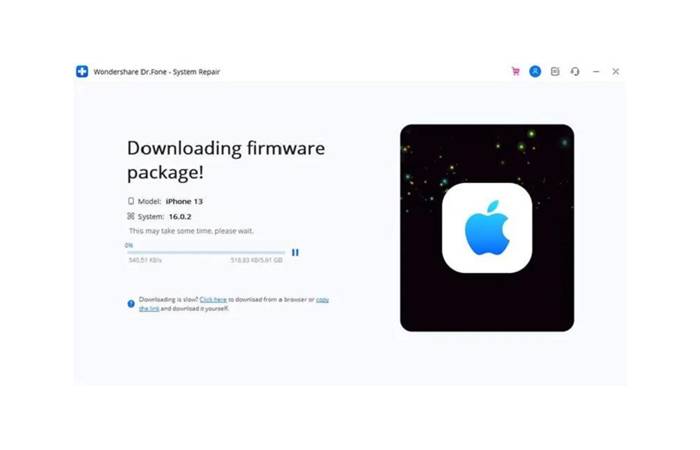
10. It is easy to monitor the progress of the firmware package as shown on the screen.
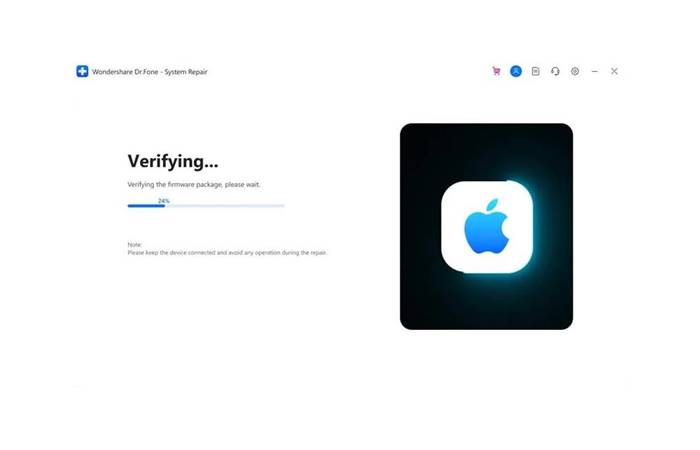
11. Fone System Repair is the leading toolkit offering a quick verification of the iOS firmware before installing it to remove any problems in system repair. You can check the verification progress on the screen.
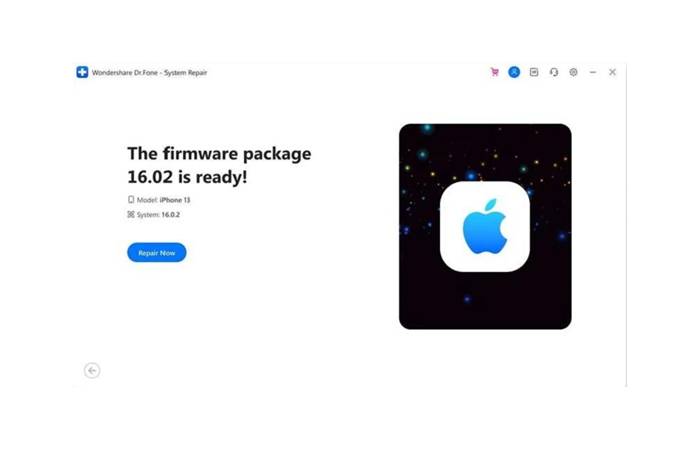
12. The screen will display when the firmware package is ready. Now, click on the “Repair Now” option and start the process.
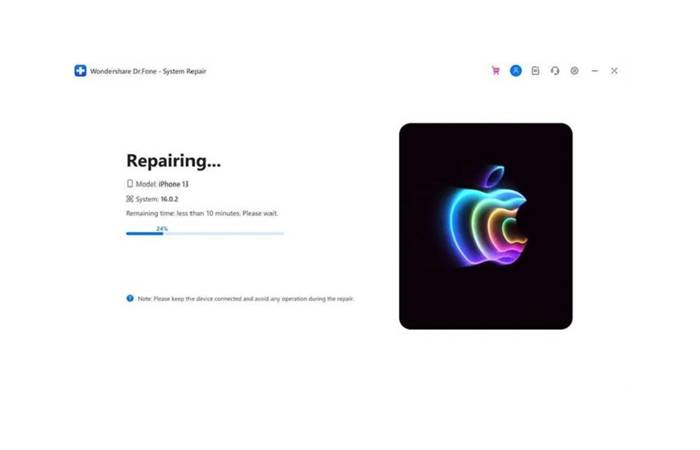
13. Fone System Repair will show the progress of the repair process in detail on the screen.
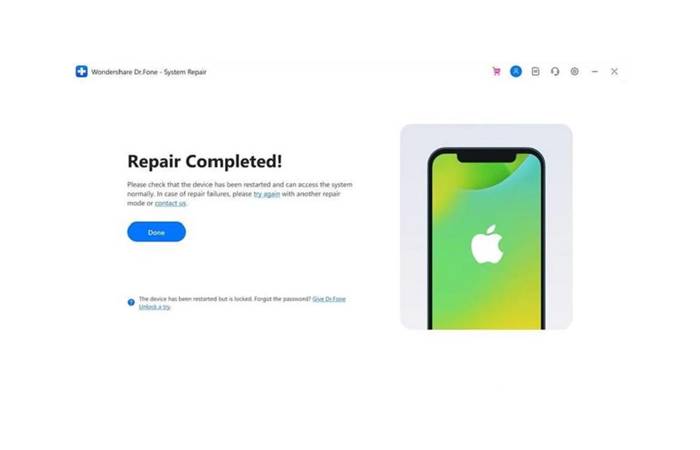
14. Wait for the tool to show a “Repair Completed” notification on the screen. Then click on the “Done” option to complete the iOS system repair execution.
Top reasons to choose Dr.Fone System Repair
After going through the detailed steps to use Dr.Fone System Repair for iOS system repair and iOS system recovery, you may look for the top reasons for its exclusivity. So, below are the top reasons to choose Dr.Fone System Repair for your iPhone system management:
- Around-the-clock customer support: It offers dedicated customer support to users through call, web form, and chatbot.
- Range of solutions in one interface: iPhone users can solve as many as more than 150 different iOS issues using Dr.Fone System Repair only.
- Easy to use: It has an easy-to-navigate and user-intuitive interface making it a perfect tool for beginners and professionals.
- Data security: It ensures the safety of the iPhone data while repairing the system and is a secure tool. Further, it verifies the iOS firmware before starting to use it on the system.
Conclusion
So, no more fuss if your iPhone gets stuck on the Apple logo or any other iPhone problem. All you need to use is Dr.Fone System Repair for seamless iPhone use. It is easy to complete the system repair or system recovery using this amazing toolkit with the detailed steps mentioned above.
Worried about the iOS system recovery? Your search for an easy-to-use, secure, and toolkit with different functionalities end at Dr.Fone System Repair only. Not to miss is its dedicated customer support and seamless compatibility with other operating systems.

